
Countertops are in … a week early! SURPRISE!
Last Thursday, Valerie (who we are ordering our counters through) called and said that our counters came in a week early and that Jeremy could install them on Monday instead of the following Friday. This totally came as a surprise me (and her!) because she had just told me a couple days prior that she called the company and they told her the counters would come in on August 1.
After talking with Scott, we decided that we would work our little hearts out and get the kitchen painted that weekend. Here is what the place looked like on Friday and what it transformed into by Monday:
 HUGE change! We still have a lot of work left to do before our kitchen is fully functioning again … like:
– Paint another coat on the cabinet frames (it just has a primer + 1 coat of paint)
– Paint 2 coats on the front and back of the cabinet doors (they are just primed)
– Prime and paint the front of the bar and corbels
– Prime and paint the shelves
– Put in a backsplash
Once that is all done we can move on to:
– Prime and paint the new drywall and ceiling
– Install crown molding
– Install board and batten in the dining room & kitchen
– Lay the new floor!!
As Scott and I were eating dinner last night, I asked him what percentage he thought we had accomplished and he said about 40%. After looking over our checklist, we actually have about 47% done! Not that the percentage actually means anything. We are still living in a construction zone and our living room is our kitchen:
 Yeah, try finding anything in there. Ha!
So, let’s see … let’s get you up to speed on what happened?! this weekend. First, Steve the drywall guy finished up and the dining room looks ah-maze-ing! Definitely money well spent. Thursday night I finished up patching the doors and deglossing them. Here is “Crazy Allie” really tired and mildly delirious from this step in the process:

 Which is also why I’m drinking coffee at 7 p.m.
 Thankfully that step is out of the way! We initially thought about using wood filler, but that stuff shrinks like nobody’s business and is really finicky to work with, so we decided to use Dap’s “Crackshot”. Awesome name, no? We’ve used this stuff before when we did the whole board and batten project and it applied like a dream. This stuff is not your normal spackling putty. It can actually be used on metal doors!
There was a little shrinkage with this stuff, but not near as bad as the wood filler. I counted all the holes that needed to be filled and the count came to 266 (!!). Which I ended up having to go over again to make sure everything was smooth. Blerg. I’m soooo happy that is over with!
After the putty was dry, Scott and I sanded everything really well. Then, I headed outside to degloss the doors. This is simply wiping everything down to get all the dust and gunk off. Once that was dry, they were ready to be painted.
We started priming the cabinet backs with Benjamin Moore’s Fresh Start oil-based Enamel Underbody. I researched and read multiple places for the best primer for our cabinets, and ultimately it came down to having a conversation with the paint guru at our local Ben Moore store. You can find more info on the product here, but overall it was great to work with, applied nicely, settled and smoothed evenly, and blocked all the stains, tannin bleeds and anything else that went on in that house over the last 30+ years.
We also needed a system to keep the doors up off the ground so we could paint the edges. Scott, the genius husband, came up with the idea of setting the doors on Dixie Cups! This has worked miraculously and only cost us $3 for a pack of 200.
 You can also see in the background of ^this^ photo that my seester made an appearance to help this weekend. It was fun having her at the house and it was really nice to have another person to help with the painting.
That photo is also a little out of order, but after we primed the backs of the doors (I didn’t have a photo of that), we started in on the cabinet frames. There is no better way to say this than – it sucked. It just really did. But it makes a WORLD of difference:

 We also demo’d our old countertops (they were gross) and took out our old sink and the faucet that we installed last year and ripped out the laminate “backsplash” that had been glued to the walls.
A lot of our time this weekend was spent ripping something out and then having to clean up and wipe everything down to get ready for the next coat of paint. It would definitely have helped if we had a garage, but alas, we don’t so we just have to make it work.
This all went on Friday, Saturday and Sunday. So, first thing Monday morning, Jeremy showed up with our countertops, corbels and a new piece for our bar-back:

 The counters are Formica Brand from their 180fx series in Soapstone Sequoia. They are AWESOME! They also have an Ogee edge. Jeremy was telling us that with the layout of our kitchen to help minimize the seams (we ended up having to have 2), the people at Formica had a staff meeting to discuss our counter to make it look as good as possible. And it is so awesome and we are so happy with our decision to go with this color and material.
After Jeremy left, Team Scallie took a nap. No, seriously, we did. Then we ventured over to our local supply store to get new drain kits so we could install our sink. After talking with the plumber pro there (who also happens to be our neighbor!), he walked us through the steps for sink installation.
And wouldn’t you know it, we came home and installed the sink, put in the drain kits, hooked up all the plumbing and garbage disposal, re-installed our faucet and turned on the water … all without any problems! And looky here … isn’t it shiny?!! I LOVE IT!

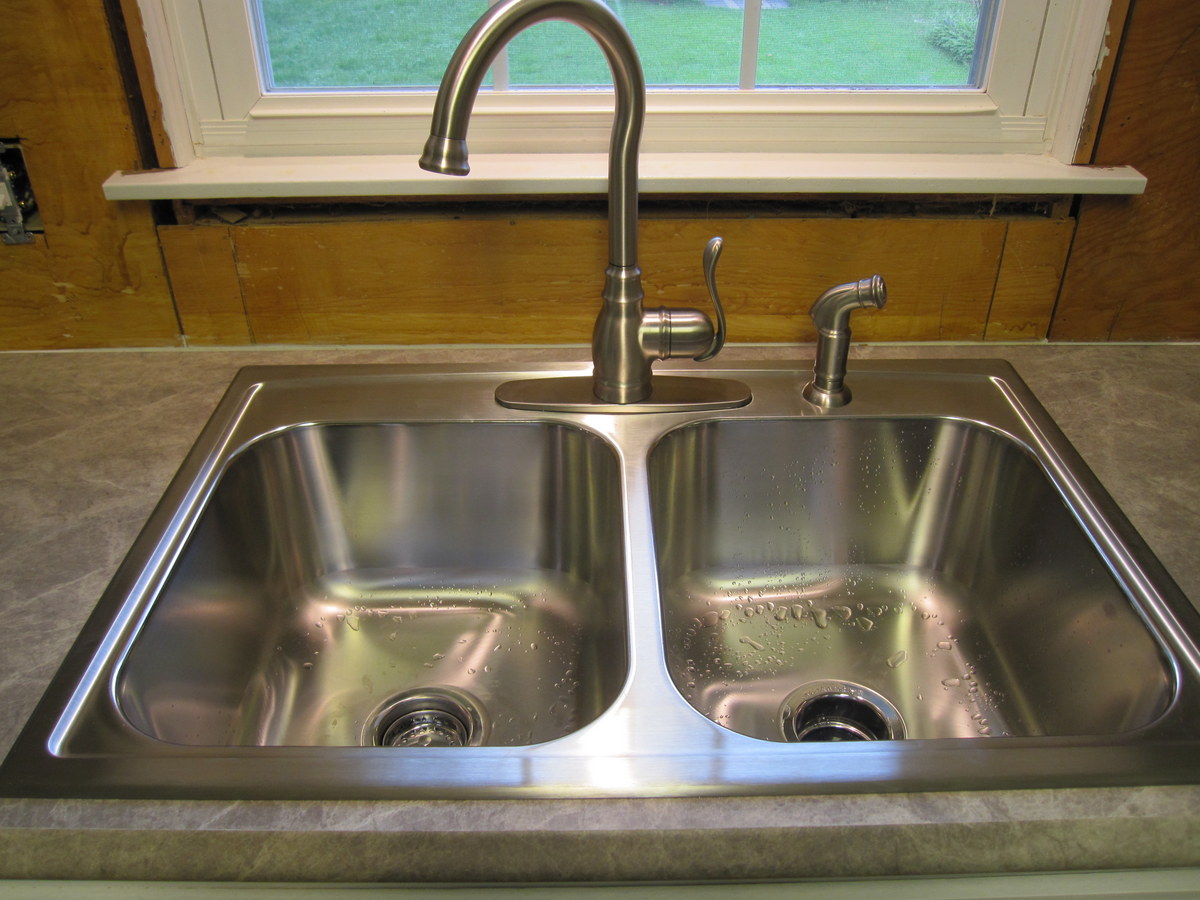 The sink is a Kohler brand, 9 inch deep, 18 gauge stainless steel that we bought from Lowe’s.
We are definitely worn out, but so happy and excited with all the progress that is being made. We are even still having fun! We can’t wait until this is all done and we can finally enjoy our kitchen again.
I’ll probably have another update after this weekend, but until then we’ll “just keep painting, just keep painting, just keep painting, painting, painting, what do we do we paint, paint, paint …” you know the rest 🙂
– Allie

Oh what fun!!!! I want to be your neighbor/friend across the street/ or something so I can pop over and help. Chris and I installed and new garbage disposal and reworked the old plumbing under his sink. I should have taken pictures. Darn! Just makes you feel so good to accomplish all that you have and to know you have the brains and brawn to do it. Ya! Thanks for sharing your progress. It’s my favorite program on the web. 🙂
I discovered your blog while searching for Soapstone Sequoia countertop images. Your countertops look great! Who did you have install them? I’m not too sure how to find someone. Thanks!
Thanks, Abbey! I shopped around for different installers and ended up going with a local Kitchen & Bath designer/installer. They were the most affordable. We found this installer because some coworkers of mine had used them before and recommended them. I would just ask around with family and friends and maybe look into some local K/B places. Thanks for stopping in; hope this helps!!
I just happened upon your blog while googling the name of your countertops. Love your remodel! We also bought an older home and the shot of your coffee mug at 7pm reminds me of myself while redoing our large kitchen’s cabinets 🙂 Your kitchen looks great!
Thanks, Lacey! Nighttime coffee breaks happened quite often when painting those cabinets. Thanks for stopping in!
So nicely done! What finish did you end up using on the counter top? Honed, or radiance?
Thanks, Heather! The Soapstone Sequoia only comes in the Honed finish (or at least it did when we purchased it). Hope this helps!
Hi there,
I am about to have this Soapstone Sequoia installed but I am little worried about how the 45 degrees “miter” would look like at the corner… Could you send a picture (here or to my email address) of a close-up of the corner between the sink and the stove, so that I can have an idea of how the seamed area look like ?
Thanks so much !!!!
Hi Bill! We actually do not have any 45 degree miter cuts for our counter. The peninsula is one piece, to the left of the peninsula is a 90 degree cut, and the portion that includes the sink is actually all one piece. We didn’t want any cuts close to the sink, so that’s why there’s not a mitered cut in the corner. Hope this helps!
Great, thanks for the prompt reply. One more question (if I may): after almost a year, still happy with it ?? Any pros/cons of using laminate in a kitchen ?
Take care
Absolutely! We’ve had the counter for two years now and it’s just like the first day it was installed. We use our kitchen a LOT and aren’t the most diligent about cleaning up splatters, etc. but the counters wipe perfectly and everything has held up great.
Thank you for posting about your Soapstone Sequoia laminate countertop! Your kitchen looks beautiful! I ordered samples in both “honed” and “scovato” finish. I love the look of the honed (more textured) but wondered if it’s difficult to keep all those little crevices clean? Thanks again for this post!
Hi Karin! I initially thought that the texture of the soapstone would be too much to keep clean, but after receiving a large sample and asking around, I wasn’t concerned at all. It’s just like any other surface. There are no crevices. Cleans really well! Hope this helps. 🙂
Thank you!!!
Just another quick post. I found out Soapstone Sequoia is no longer made in the honed finish. I contacted Formica and was told they discontinued it in January 2015. It only comes in Scovato. The Scovato finish is described as “a lightly textured surface smooth to the touch with a low gloss visual.” Truthfully, I’m disappointed. I have samples in both finishes and prefer the honed. Darn.
We are about to paint our 80s cabinets grey but I was curious if you can see the texture of the wood grain or the brush strokes after you painted yours? Also, did you sand in between coats? How have they held up?
You do see a little of the wood grain show through. We just brushed the areas the foam roller wouldn’t reach, so you don’t see brush strokes and since the foam roller doesn’t really leave a texture, it looks really smooth. We did not sand between coats. We used Ben Moore Advanced and it has held up incredibly well! I’ve scrubbed it and it cleans well. We have a toddler, so it has taken some hits and has never chipped. I’ve been really impressed. You definitely want to let the paint cure, but after that it’s like an oil finish— hard and durable, but doesn’t yellow. Hope this helps!